Radmin Installation Guide
Before installation
Radmin 3 consists of two modules:
| The Server module needs to be installed on the remote computer (for example your office PC) that you want to access from your own one (for example your home PC or notebook). | The Client module (also called the Viewer) needs to be installed on the local computer (for example your home PC or notebook) which you want to use to access your remote PC. |
Both computers need to be connected by TCP/IP on a local network, modem-to-modem, or over the Internet.
Installing Radmin Server 3
| Step 1: | Download Radmin Server 3. Transfer the file: Radmin_Server_3.5.2.1_EN.msi onto the remote computer (the remote computer is the computer which you want to gain access to later via Radmin) and run (execute) Radmin_Server_3.5.2.1_EN.msi on the remote computer. Follow the on-screen instructions. Any previous versions of Radmin Server 3 installed on your computer will be automatically replaced with the new version (without affecting your settings). |
| Step 2: | Configure Radmin Server on the remote computer: |
| 1. Right Click on the Radmin Server tray icon and choose "Settings For Radmin Server". 2. Select the "Permissions" button. 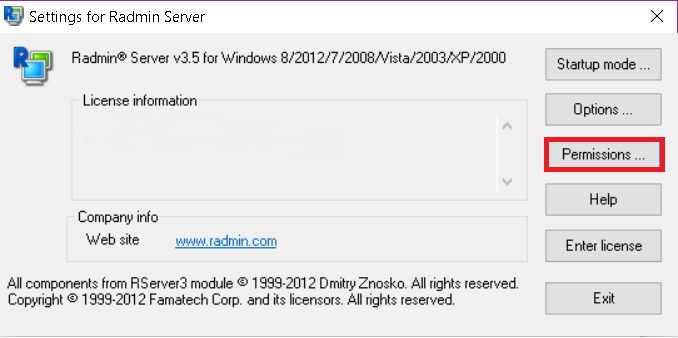 3. Select the security mode. Radmin security mode is more useful when connecting through the Internet and has a more flexible configuration of access rights. Windows NT security mode is mainly used on internal corporate networks. 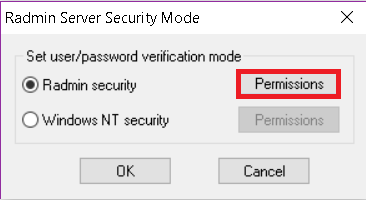 4. You must add a user to the security system. At least one user is required to access Radmin Server. 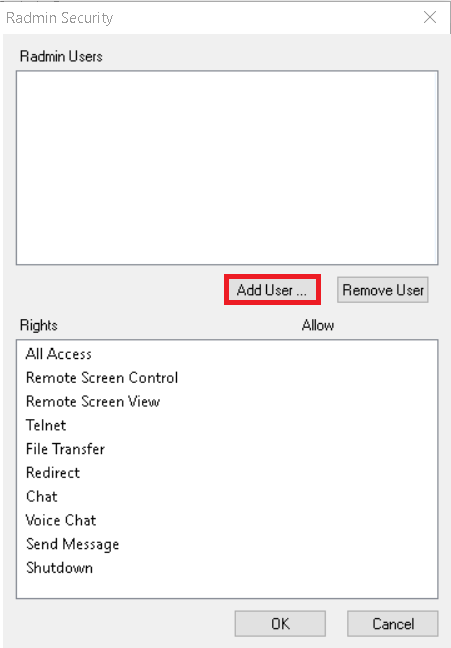 5. Add a new user. Use Latin characters to enter the user name and password. The minimum password length is 6 characters. 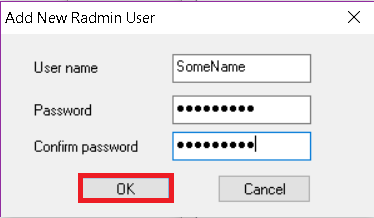 6. Now you can configure the access rights for the user. You need to check at least one option to allow access to Radmin Server. 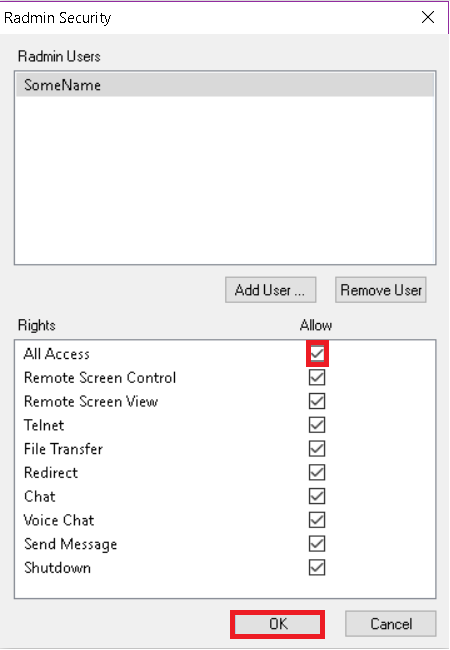 7. In order to provide an additional security level you can change Radmin Server's general settings. If you use Radmin only for technical support (when a technical specialist connects to your computer and resolves your computer problems remotely), you can customize the confirmation of incoming connections (connections can be allowed or disallowed manually or by timer). You can also change the default port, which is used when your technician or administrator connects to Radmin Server. If you change the default port, write it down or tell the administrator about it. You will need this port number to configure Radmin Viewer later. 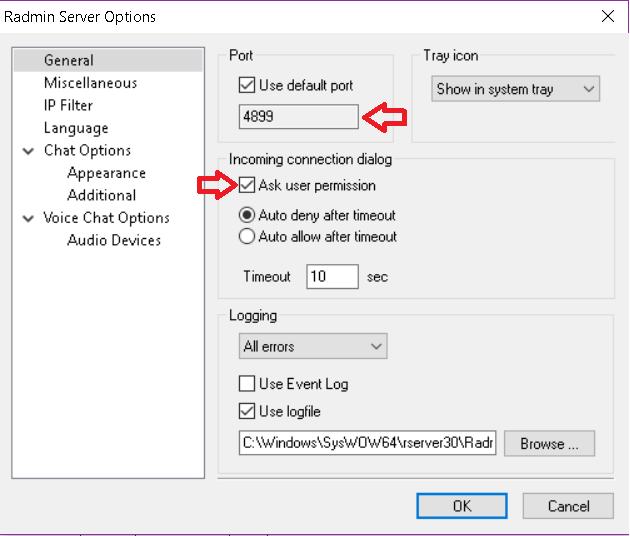 | |
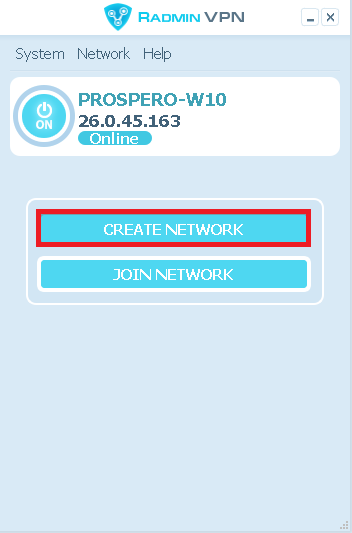
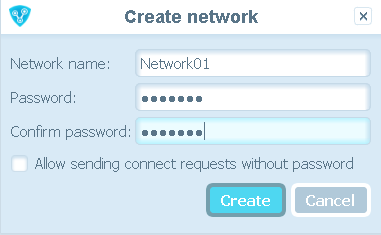
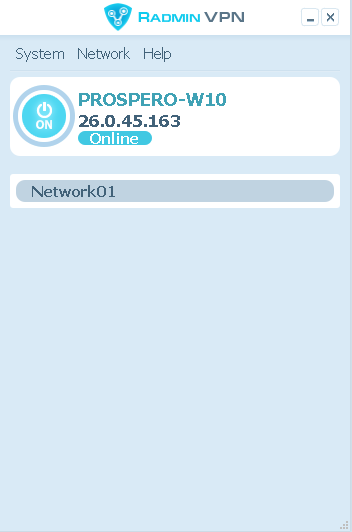
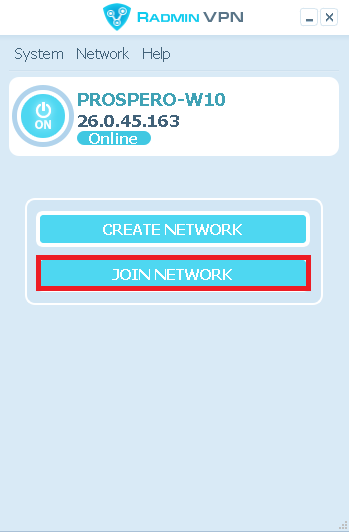
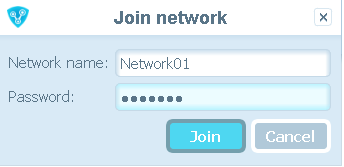
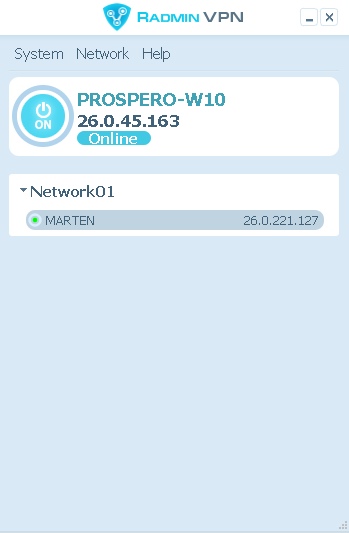
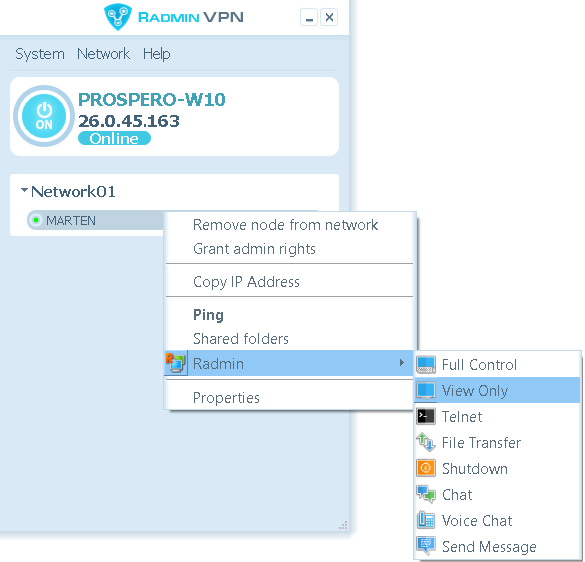
| Step 3: | Write down the IP address of your computer. Choose your option below: A. If you connect to a PC inside your LAN or the Remote PC has a public IP, write it down (see details) B. If you wish to access a PC located in different LAN you can use port-forwarding option (see details) C. If the remote PC is located in a different LAN and you have no access to the router please use Radmin VPN (see details) Now you can connect to the Radmin Server by using our free software: Radmin Viewer. Follow the instructions for its installation and configuration below. |

Installing Radmin Viewer 3
| Step 1: | Download Radmin Viewer 3. Execute Radmin_Viewer_3.5.2.1_EN.msi on the remote computer (the local computer is the computer from which you connect to the remote computer). Follow the on-screen instructions. All the necessary files will be copied to the system default directory (C:\Program Files\Radmin Viewer 3\). Any previous versions of Radmin Viewer 3 that may be installed on your computer will be automatically replaced with the new version (without changing your settings). |
| Step 2: | Run Radmin Viewer and create a new connection.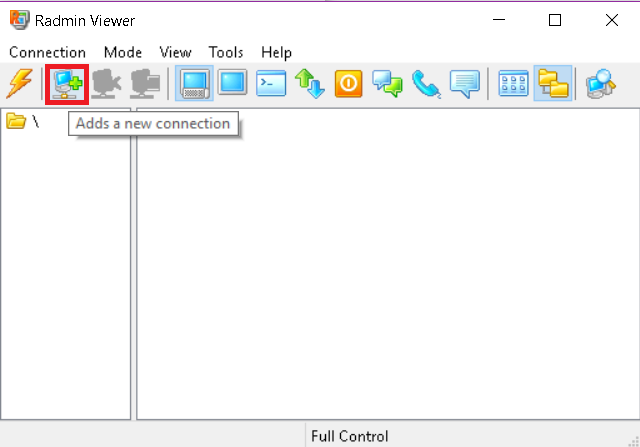 Enter the IP address of the computer on which you installed Radmin Server (see Step 3 above). In case you changed the default port (4899) in Radmin Server (see Step 2.7) please change it here as well. Enter a name for the connection (that will be useful). 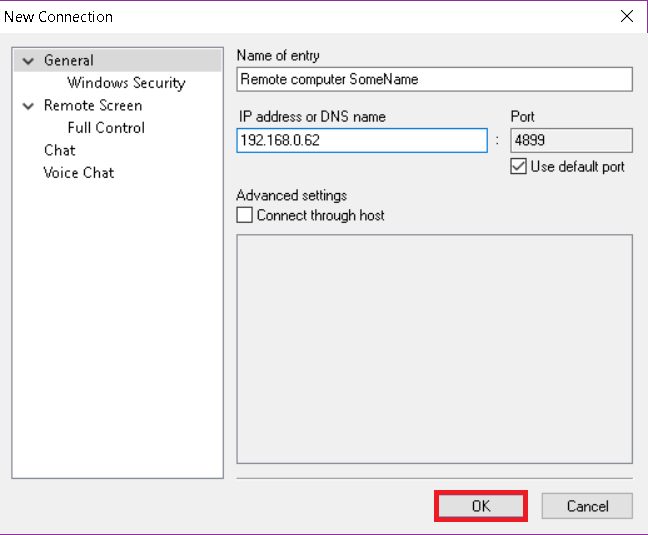 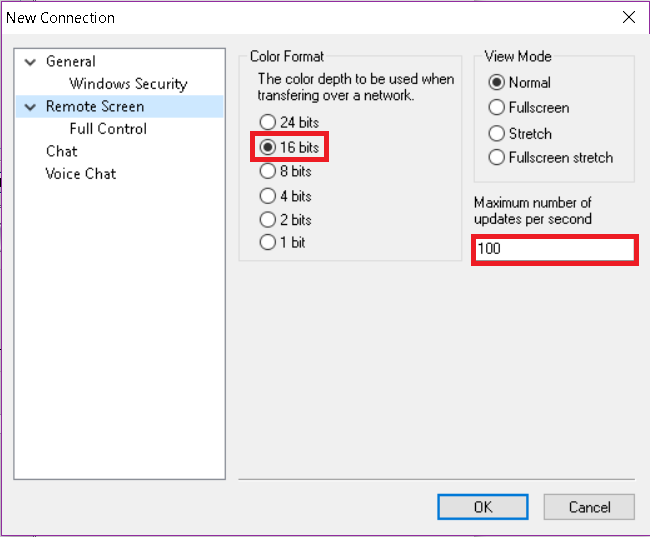 |
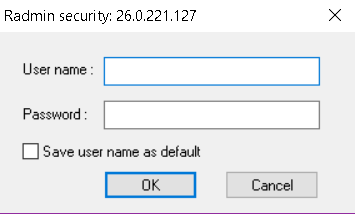
| Step 3: | Check the availability of the remote computer by scanning with the built-in scanner. After the scan (if the icon for the connection is checkmarked) Radmin Server on the remote computer is installed and ready for a connection.  Enter your user name and password, which were defined above in Step 2 (e) in your Radmin Server on the remote computer. 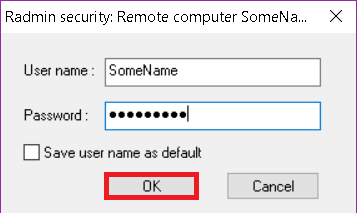 Now you can enjoy a fast and secure remote control of your distant computer! |
Troubleshooting
If you get an error message while connecting to the remote PC it usually means that the connection was broken by the server side due to an IP filter restriction on the server. In order to find and change your IP filter settings, you are required to run 'Radmin server setup' from the Start menu on the server side. If you get the message "Can't connect to server" you can turn on the log file to discover the reason. Please make sure that:
- Radmin Server runs on the remote PC;
- you are usin the latest versions of Radmin 3 on both sides;
- you can ping the remote PC;
- there is no other remote control software running on the remote PC, it might be incompatible with Radmin.
In case you still experience difficulties connecting to the remote PC or installing Radmin please submit a ticket.